
DIY Tips for Installing Curtains: A Step-by-Step Guide


Getting Started with Curtain Installation
Installing curtains can dramatically transform a room, adding style, color, and privacy. While it might seem like a daunting task, with the right tools and guidance, it can be a straightforward DIY project. Whether you're sprucing up your living space or adding the final touches to a newly decorated room, this step-by-step guide will help you hang curtains like a pro.
Before you begin, gather all necessary tools and materials. Ensure you have a tape measure, pencil, level, drill or screwdriver, wall anchors (if needed), and a stepladder. Most importantly, choose the right curtain rods and brackets that suit your curtains and room decor.
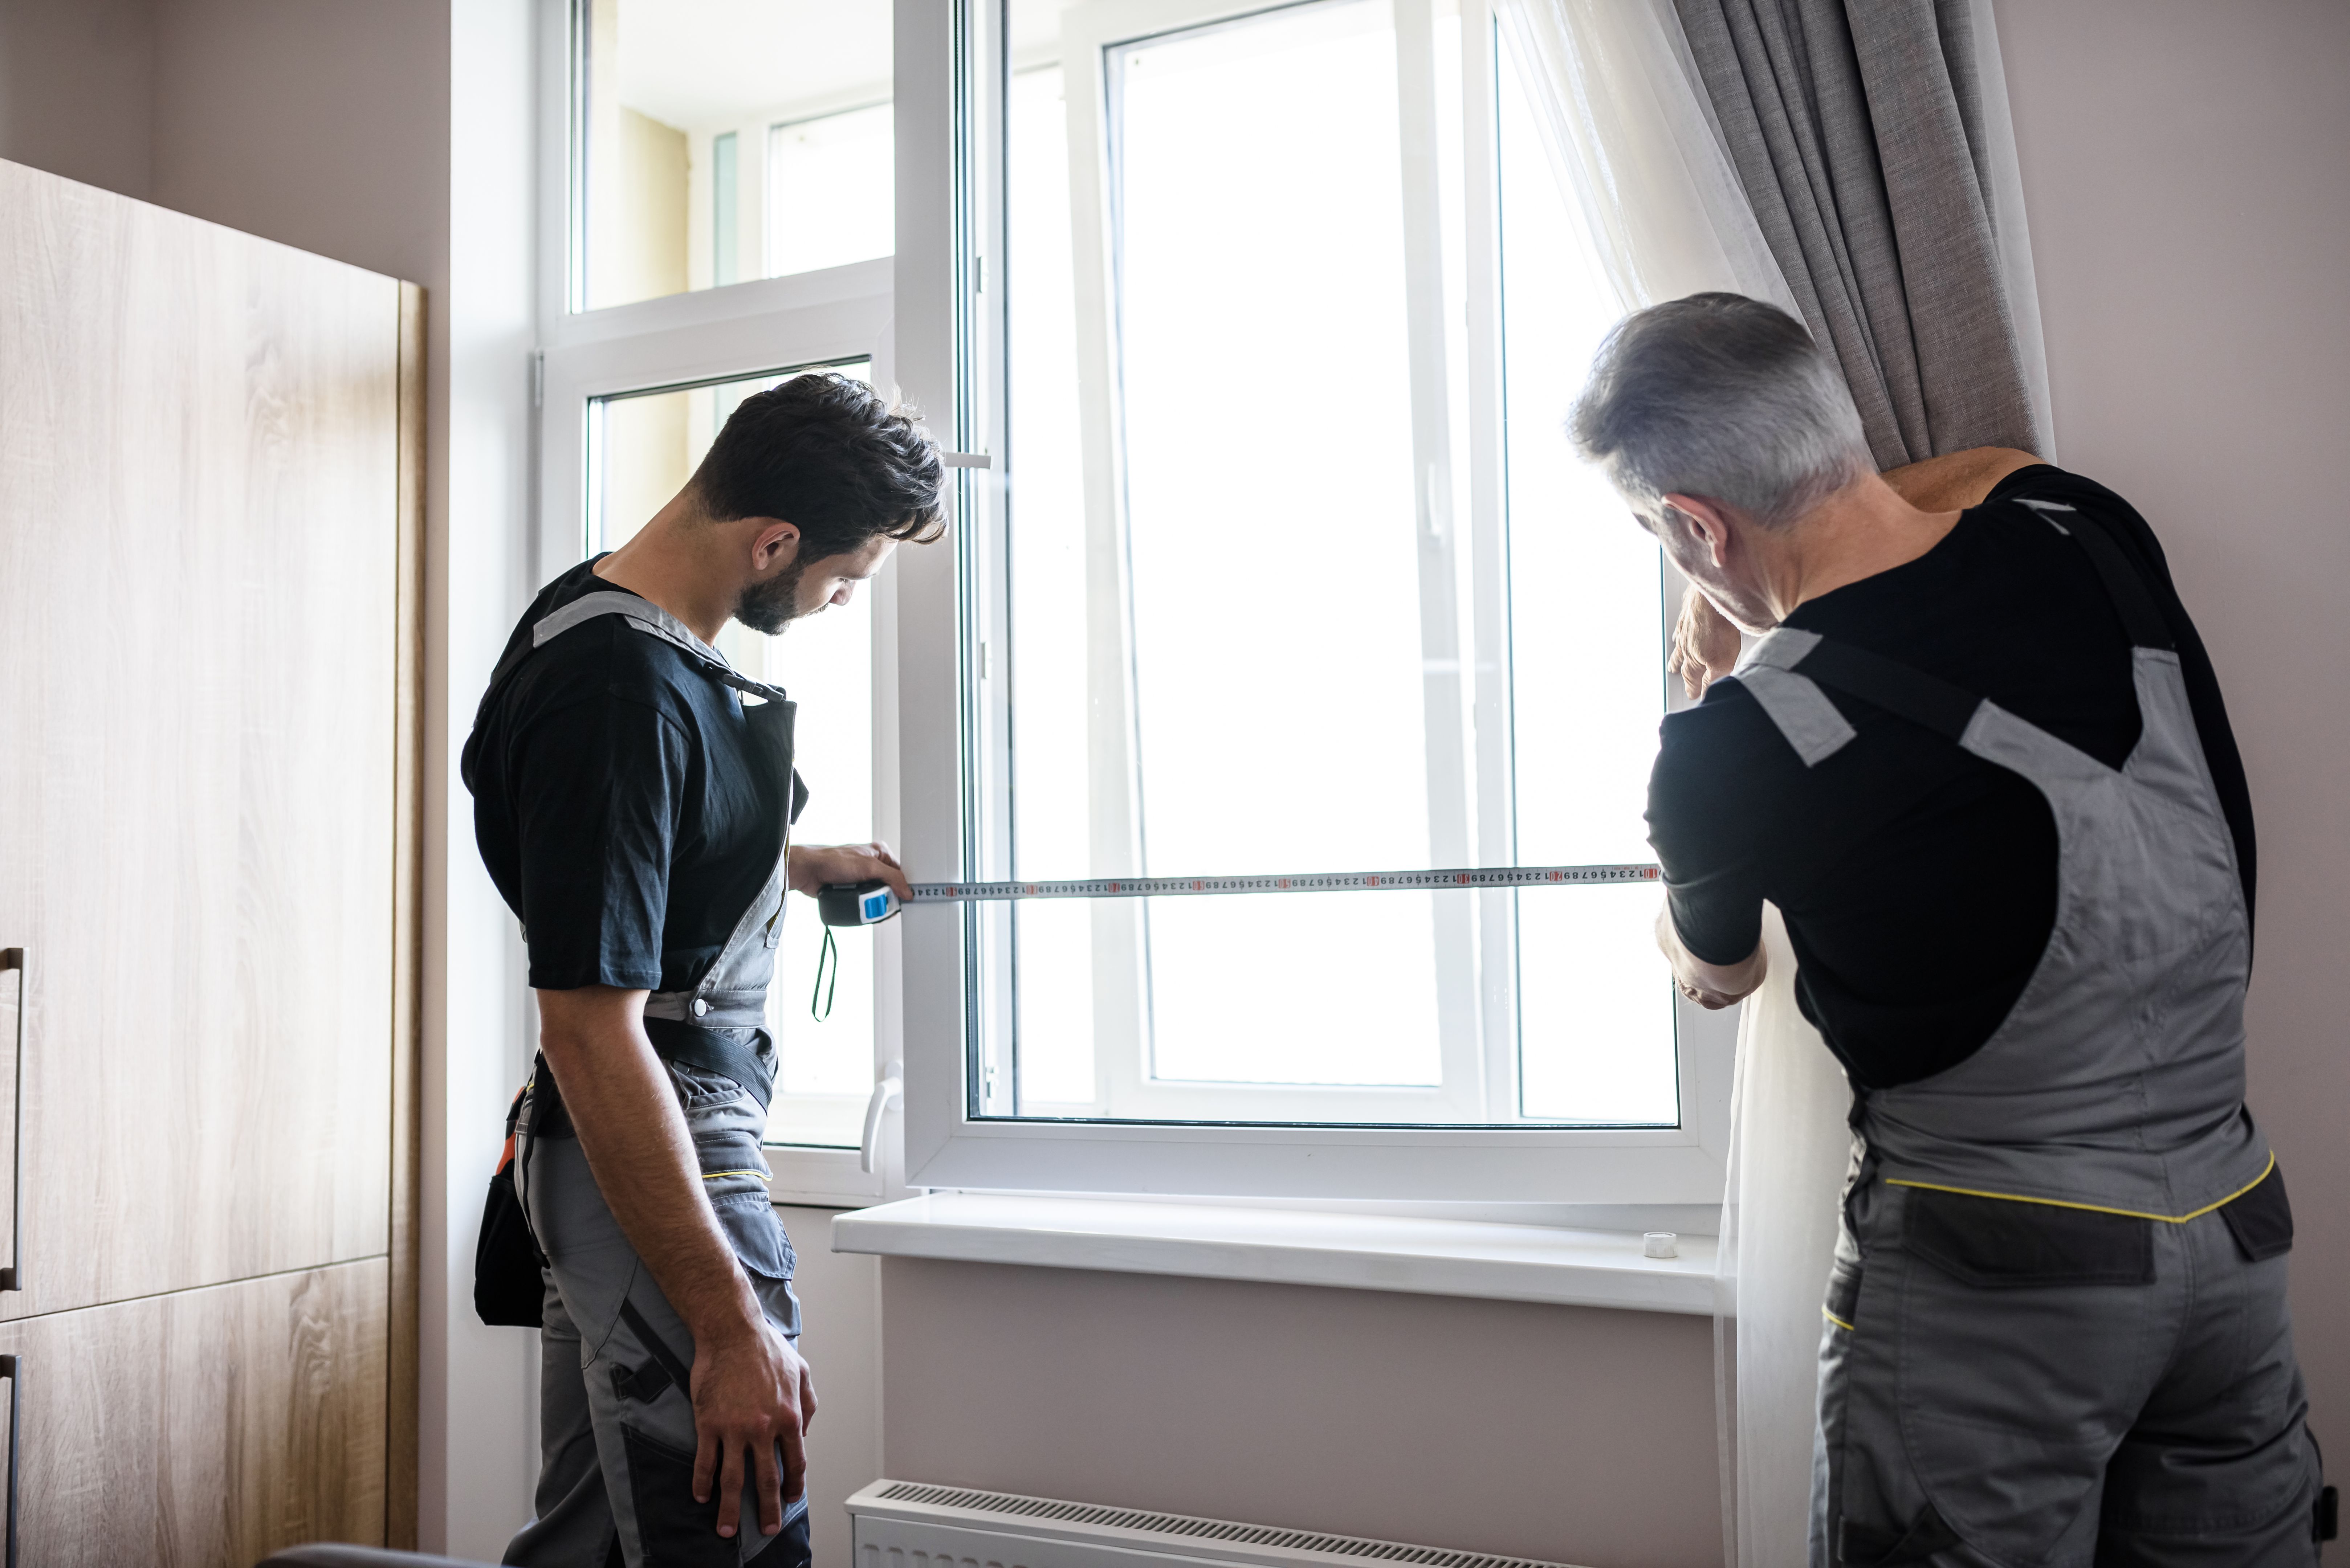
Measuring and Marking
Accurate measurements are crucial for a perfect curtain installation. Start by measuring the width of your window. It's generally recommended to extend the curtain rod 4-6 inches beyond the window frame on each side to allow the curtains to hang open without blocking the window.
Next, decide how high above the window you'd like to install the curtain rod. Hanging curtains closer to the ceiling can create the illusion of taller windows and add elegance to the room. Use a pencil to mark where the brackets will go, ensuring they are level and evenly spaced.
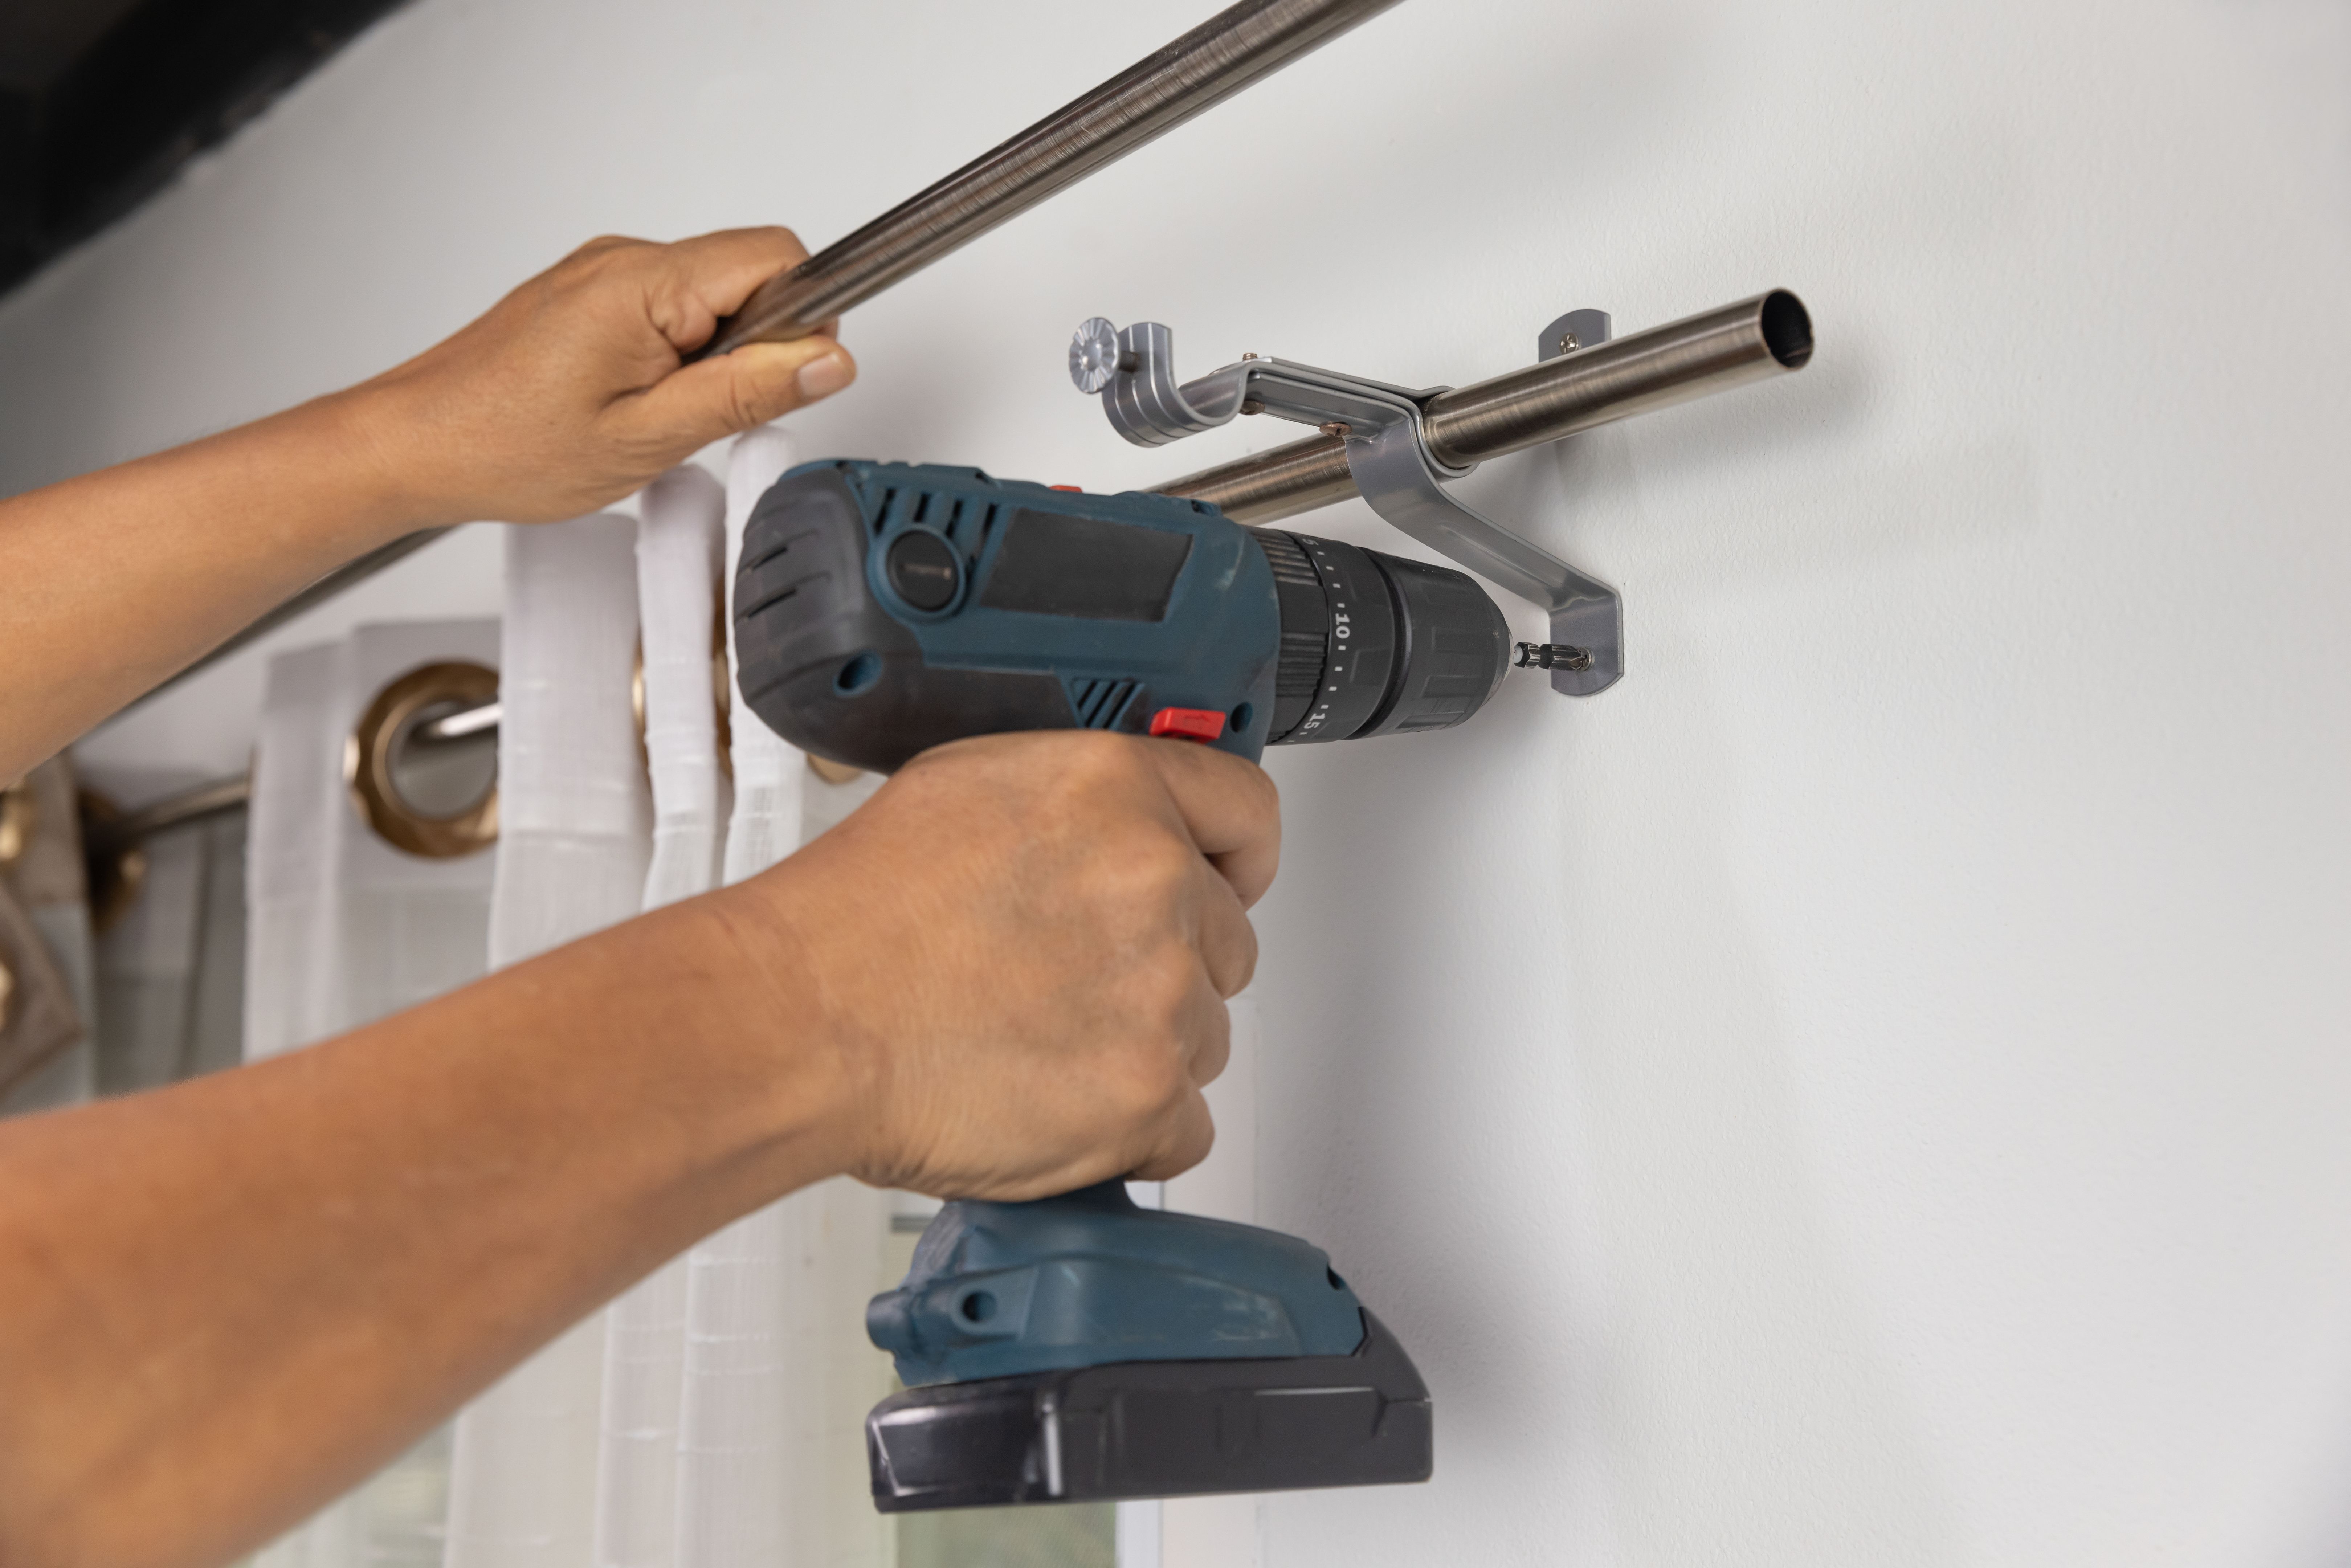
Installing the Curtain Rod
With your marks in place, it's time to install the brackets. If you're drilling into drywall, use wall anchors to keep the brackets secure. Screw in the brackets using a drill or screwdriver. Double-check that they are level before tightening fully.
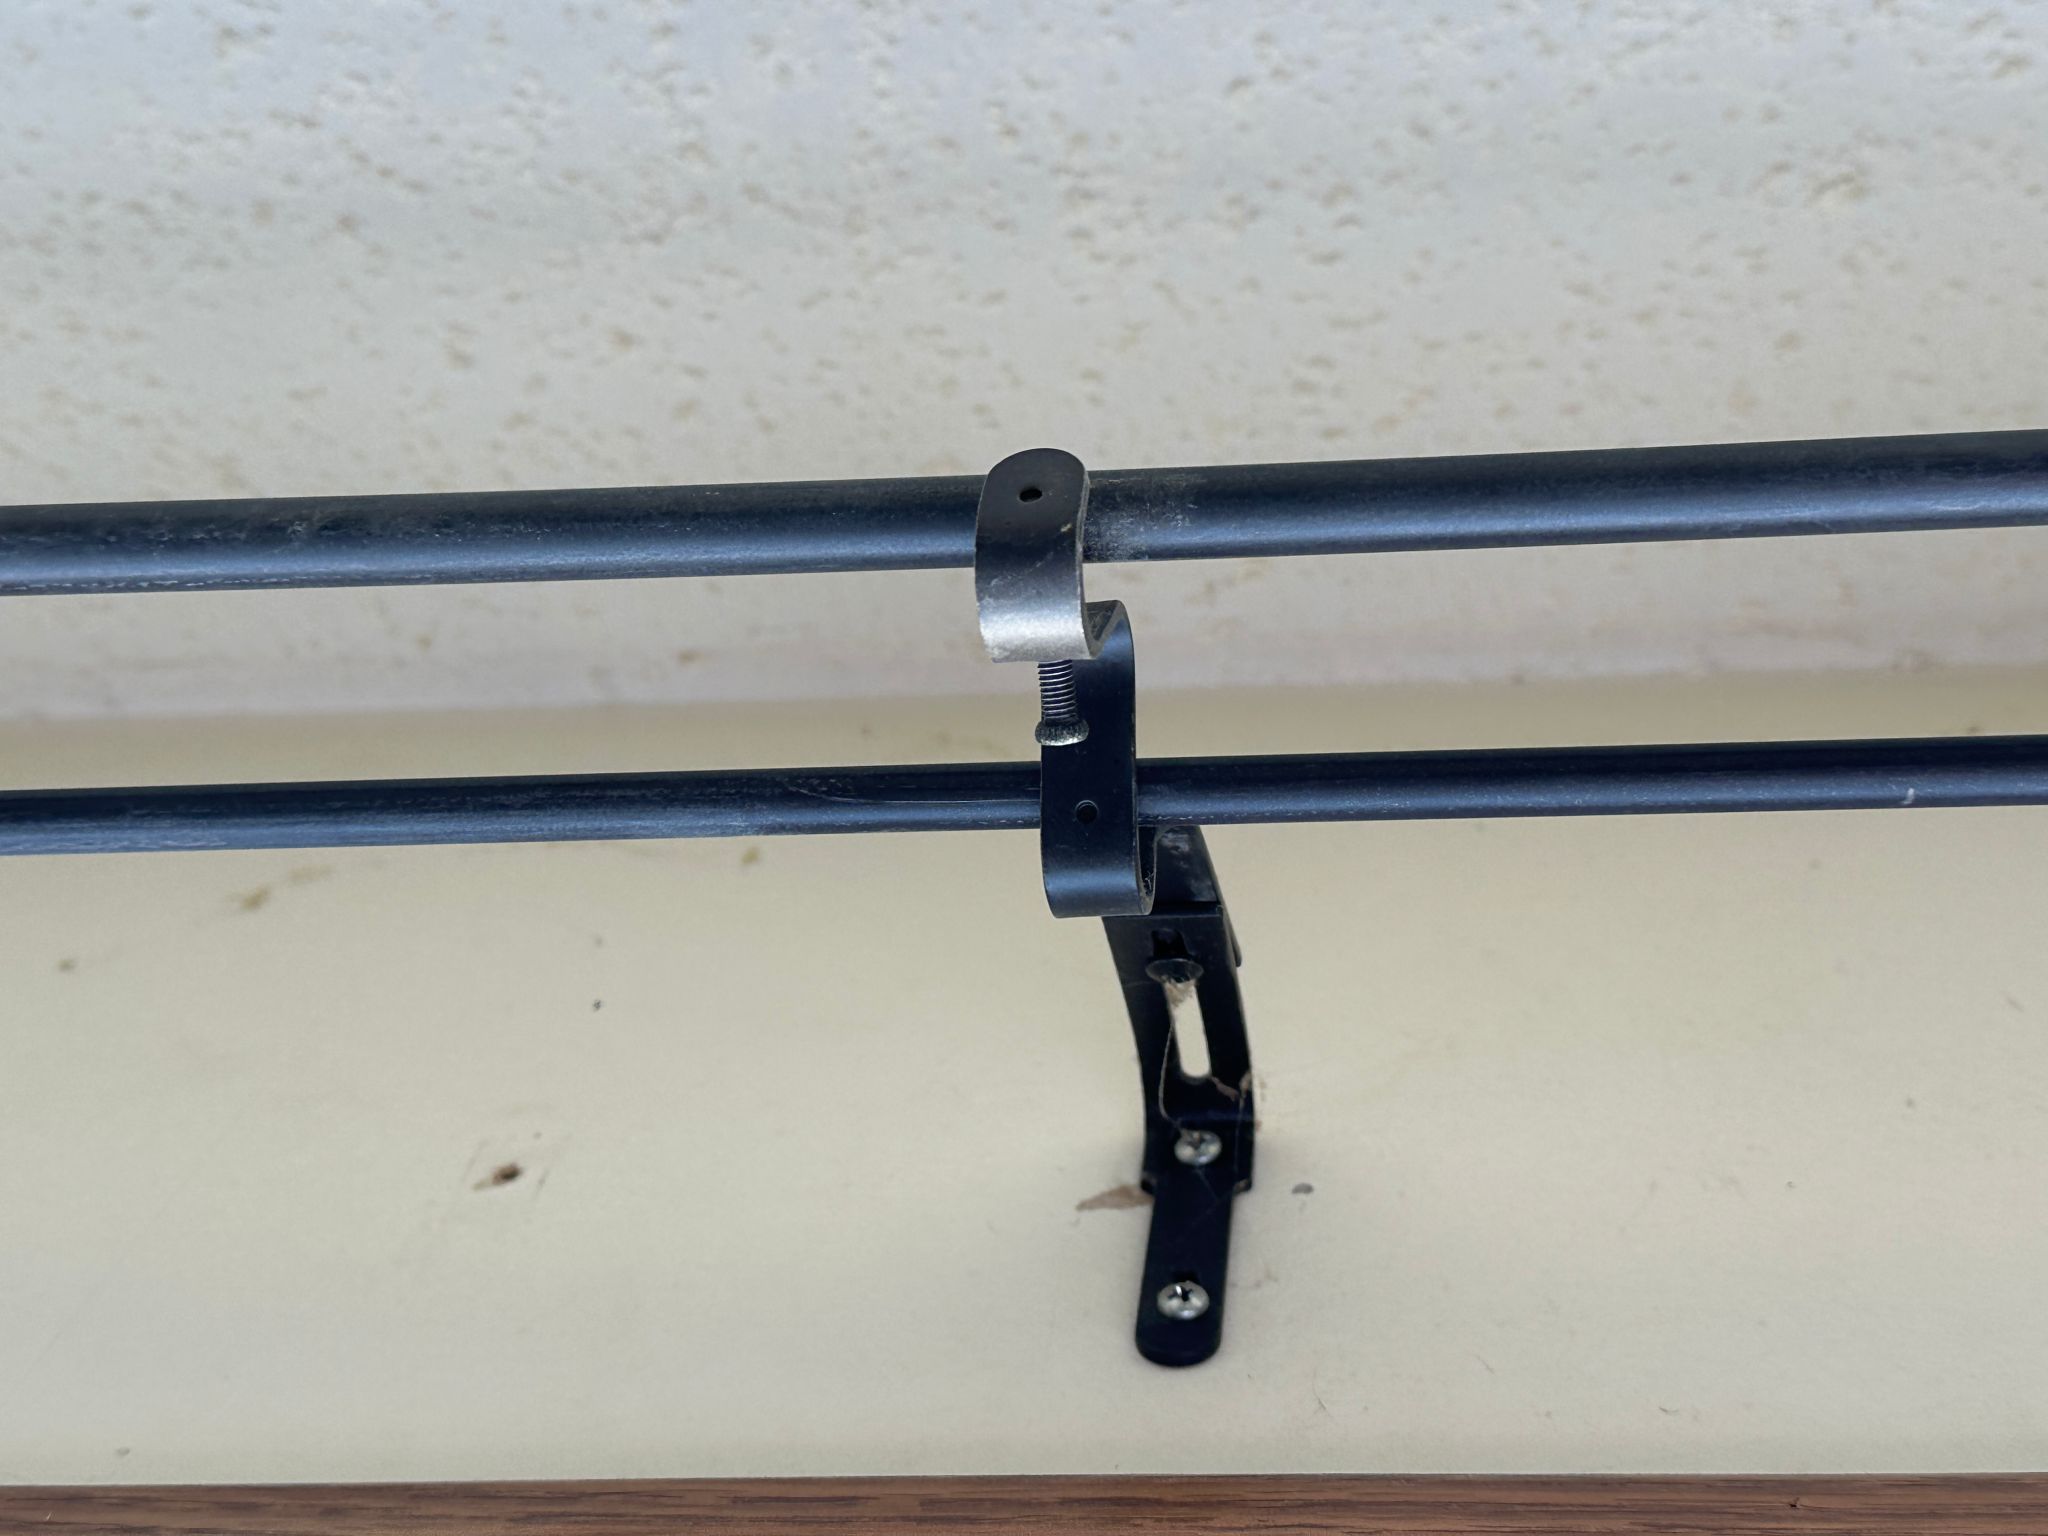
Once the brackets are securely attached, slide the curtain rod through your curtains and place it onto the brackets. Adjust as needed to ensure the curtains hang evenly on either side of the window.
Adding Finishing Touches
After hanging the curtains, adjust them to ensure they are evenly spaced and fall gracefully to the desired length. If your curtains are too long, consider hemming them for a tailored look.
You might also want to accessorize with curtain tiebacks or holdbacks for added style and functionality. These can be installed at the height of your choice on either side of the window.
Common Mistakes to Avoid
One common mistake is incorrect measurements. Double-check your measurements before drilling holes to avoid unnecessary damage to your walls. Additionally, ensure that your brackets are level; uneven brackets can lead to crooked curtain rods.
Another pitfall is choosing the wrong curtain rod for your window size and curtain weight. Heavy curtains require sturdy rods and brackets, so choose accordingly.
Enjoy Your New Look
With your curtains installed, step back and admire your work. The right curtains can make a significant difference in both the aesthetics and functionality of a space. Enjoy your refreshed room and the ambiance your new curtains bring!
If you find yourself inspired to tackle more home improvement projects, remember that with a bit of planning and effort, any space can be transformed into something special.