
DIY Tips for Measuring and Installing Custom Blinds


Installing custom blinds can be a rewarding DIY project that not only enhances the look of your home but also provides privacy and light control. With the right tools and a little patience, you can achieve a professional look without the professional cost. This guide will take you through the process of measuring and installing your custom blinds step by step.
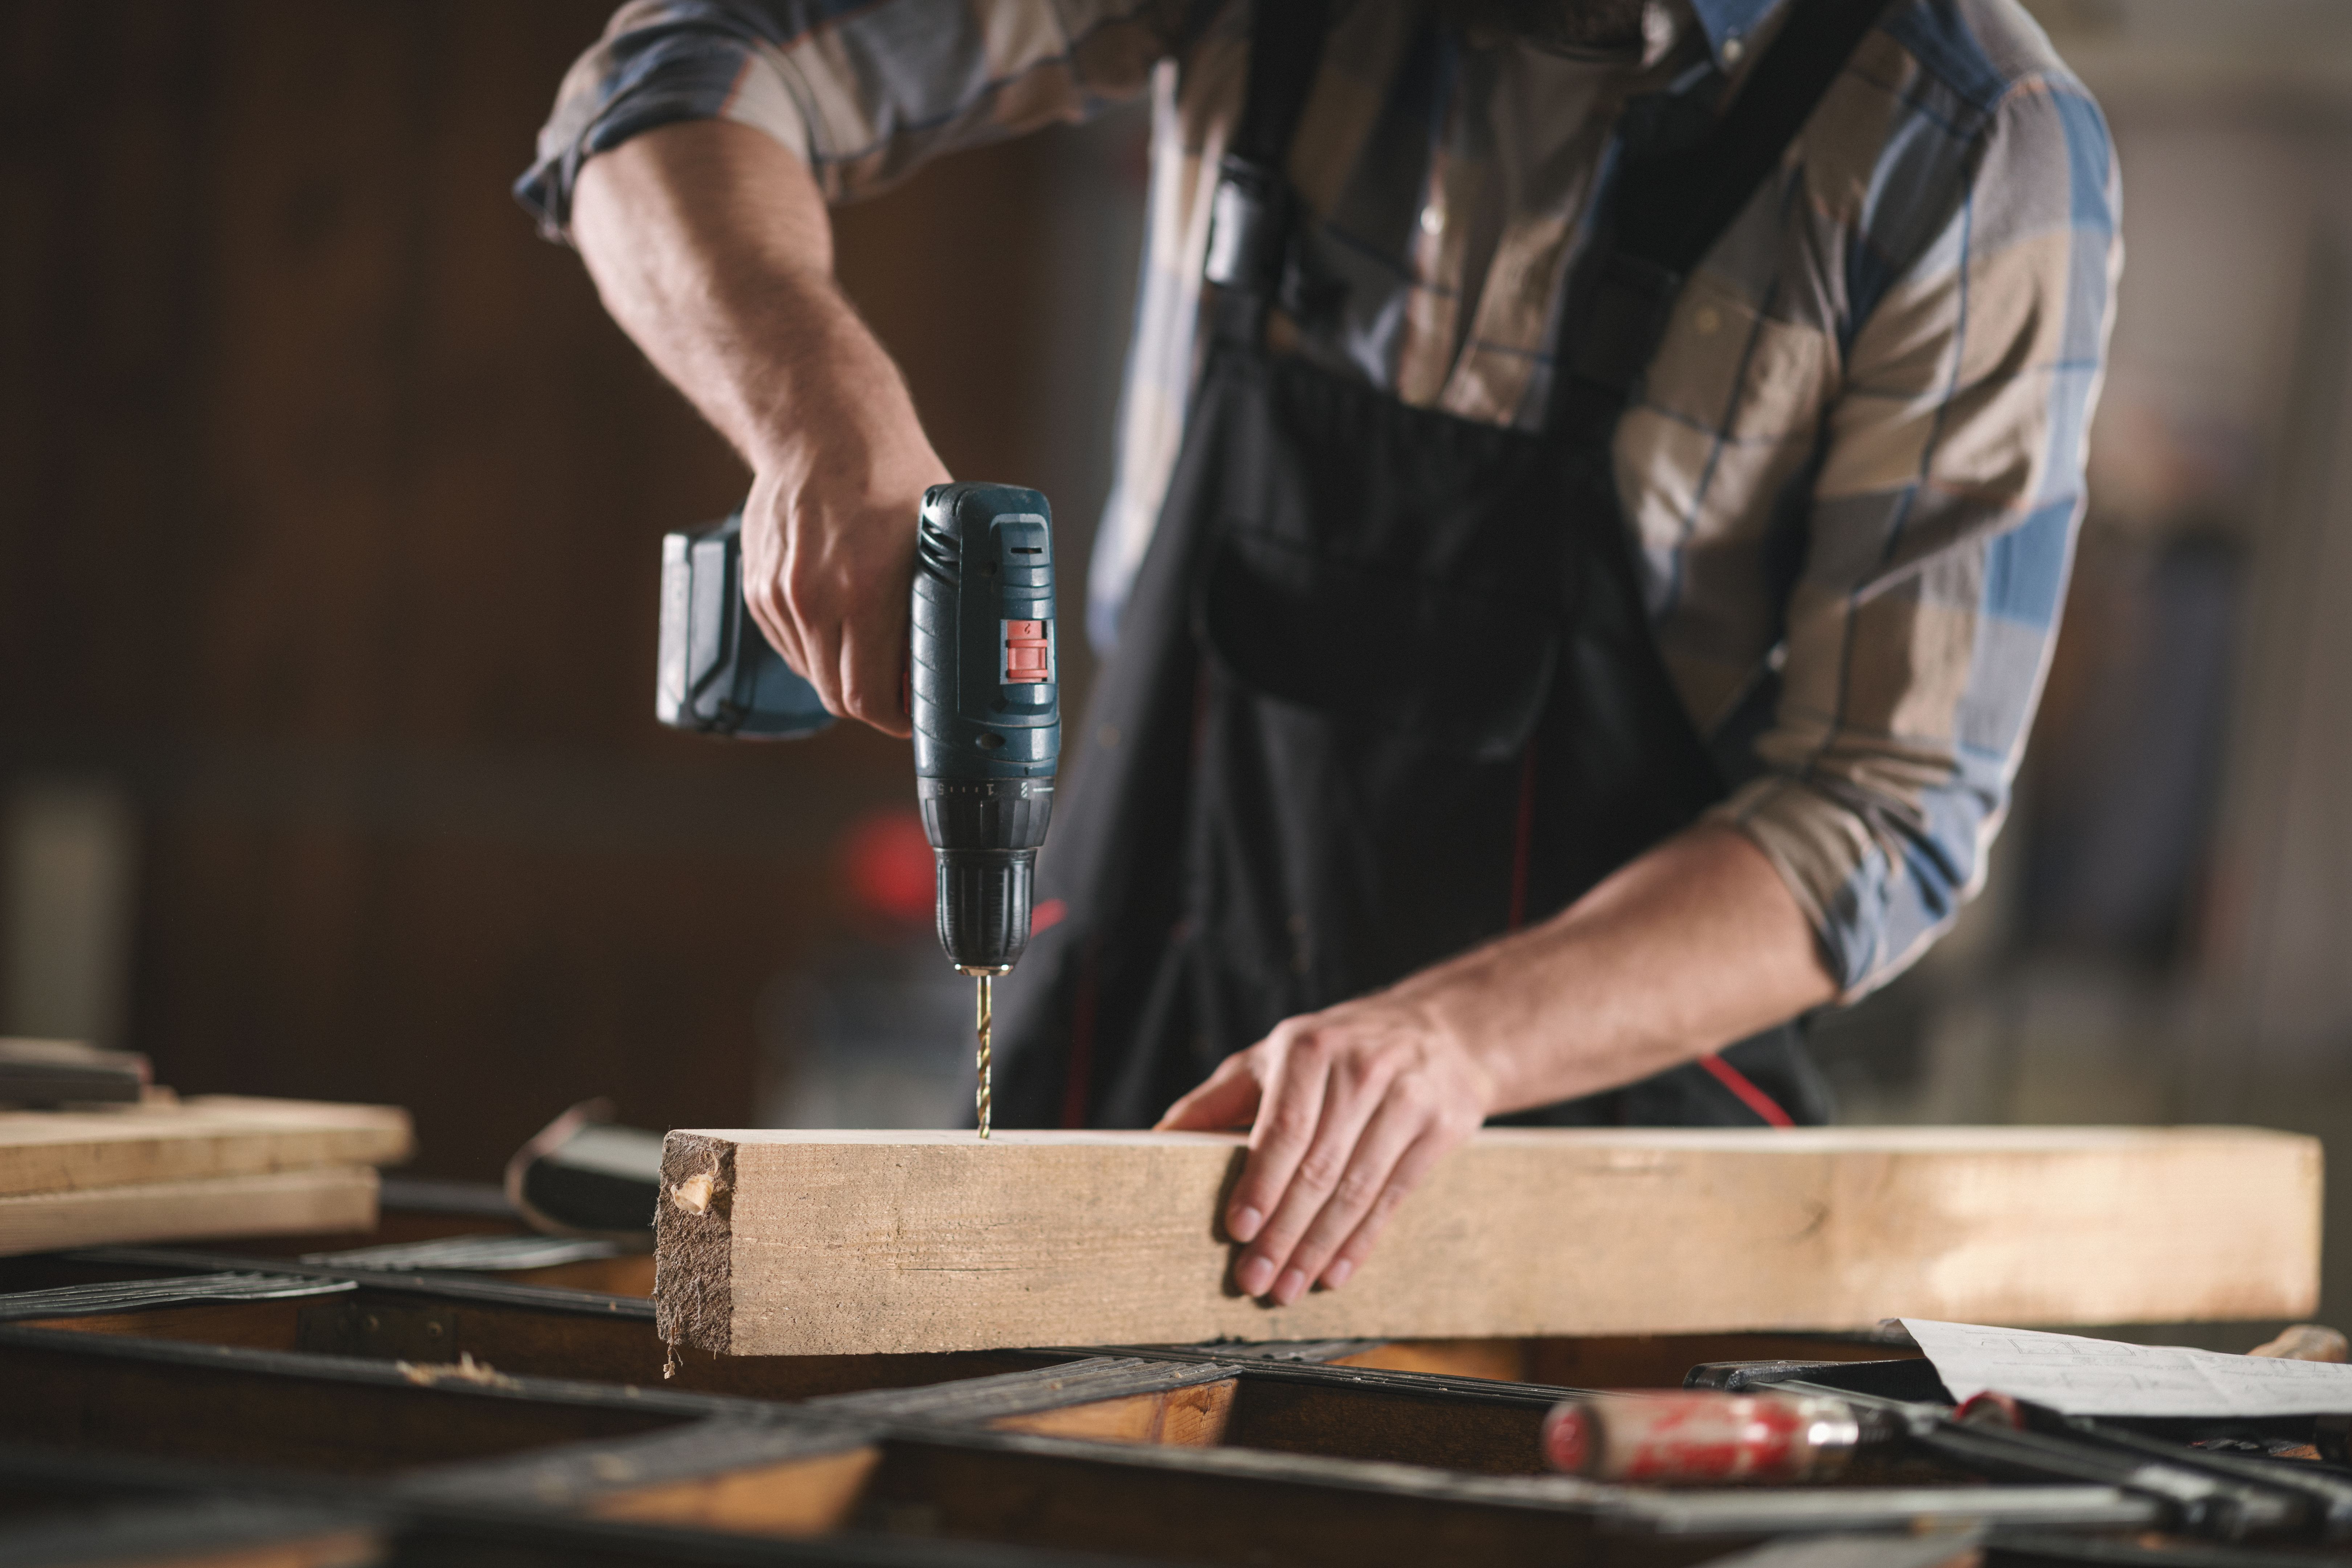
Gathering Your Tools and Materials
Before you begin, ensure you have all the necessary tools and materials. You will need a tape measure, a pencil, a level, a drill with bits, screws, and a screwdriver. Having these tools on hand will make the process smoother and more efficient.
It's also important to have your custom blinds ready. Double-check that you have the correct size and style for your windows. If you're missing any parts or instructions, contact the manufacturer before proceeding.
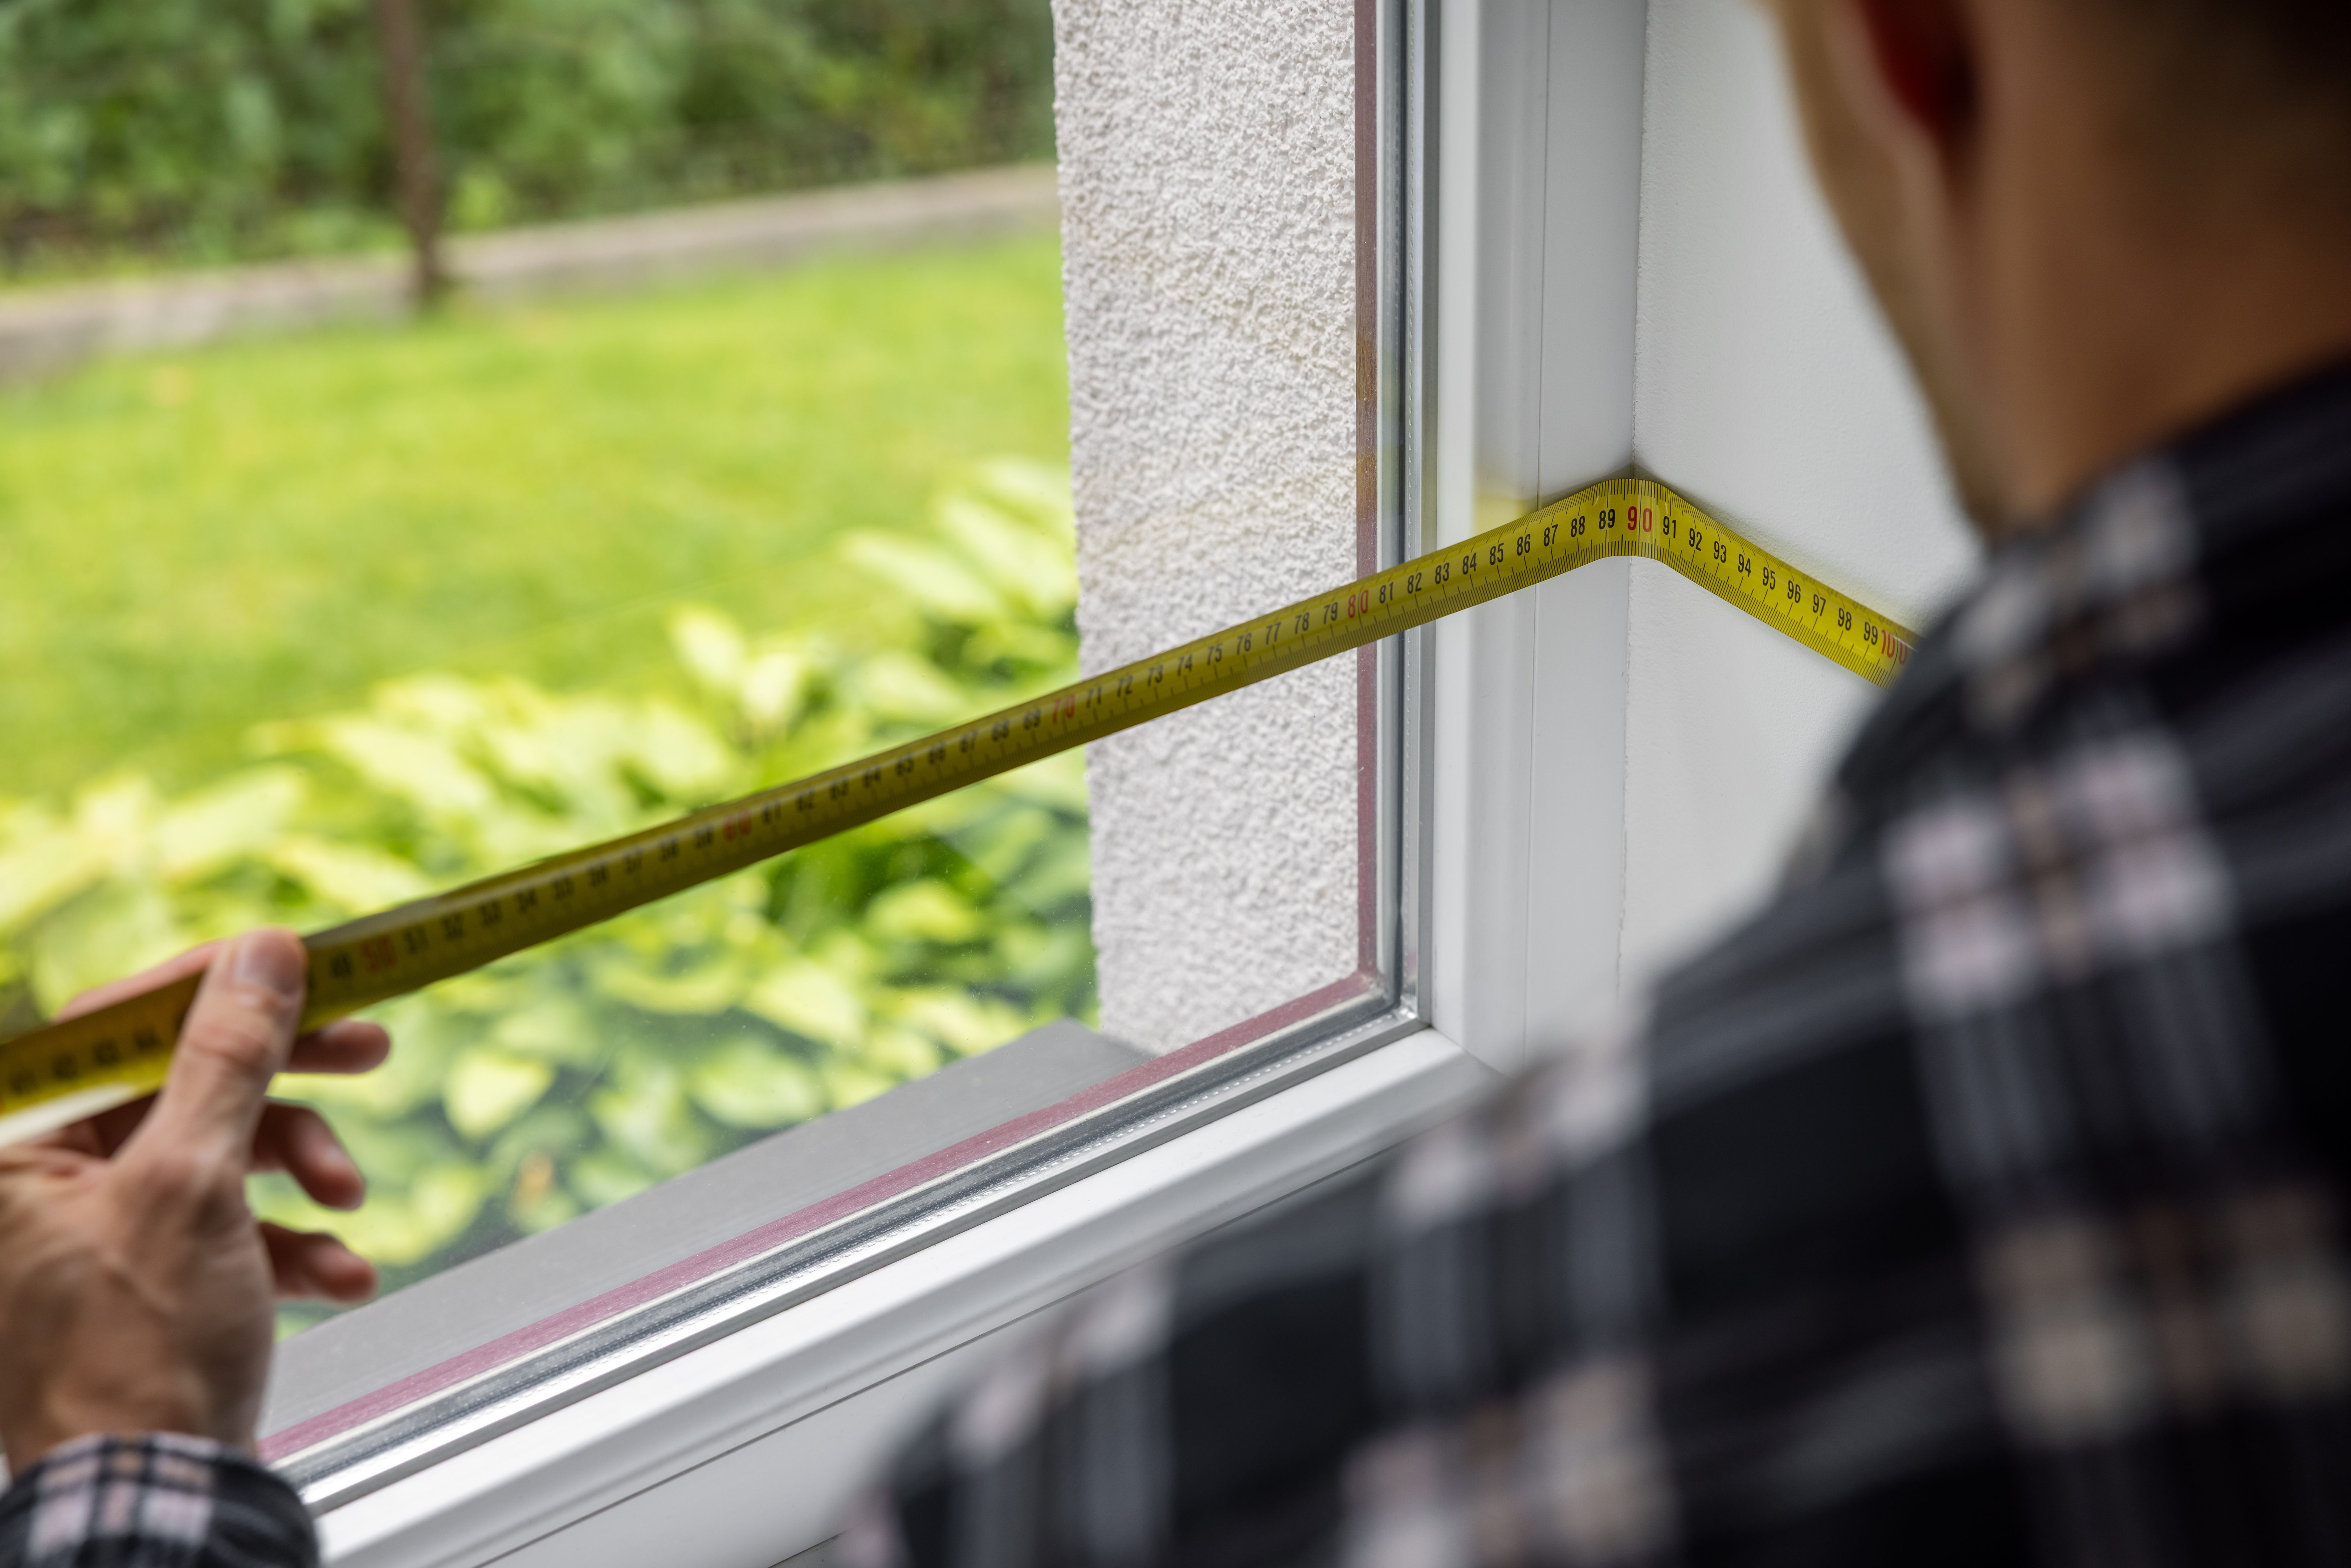
Measuring Your Windows
Accurate measurements are crucial for a perfect fit. Start by deciding whether you want an inside or outside mount. An inside mount fits within the window frame, while an outside mount is installed on the wall above the window.
Inside Mount
To measure for an inside mount, measure the width of the window at the top, middle, and bottom. Use the narrowest measurement to ensure the blinds fit within the frame. Next, measure the height at the left, center, and right. Use the longest measurement for the height to ensure full coverage.
Outside Mount
For an outside mount, measure the width and height of the area you want the blinds to cover. Add extra width on each side to ensure ample coverage and enhance privacy. This will also help block out more light.
Installing Your Custom Blinds
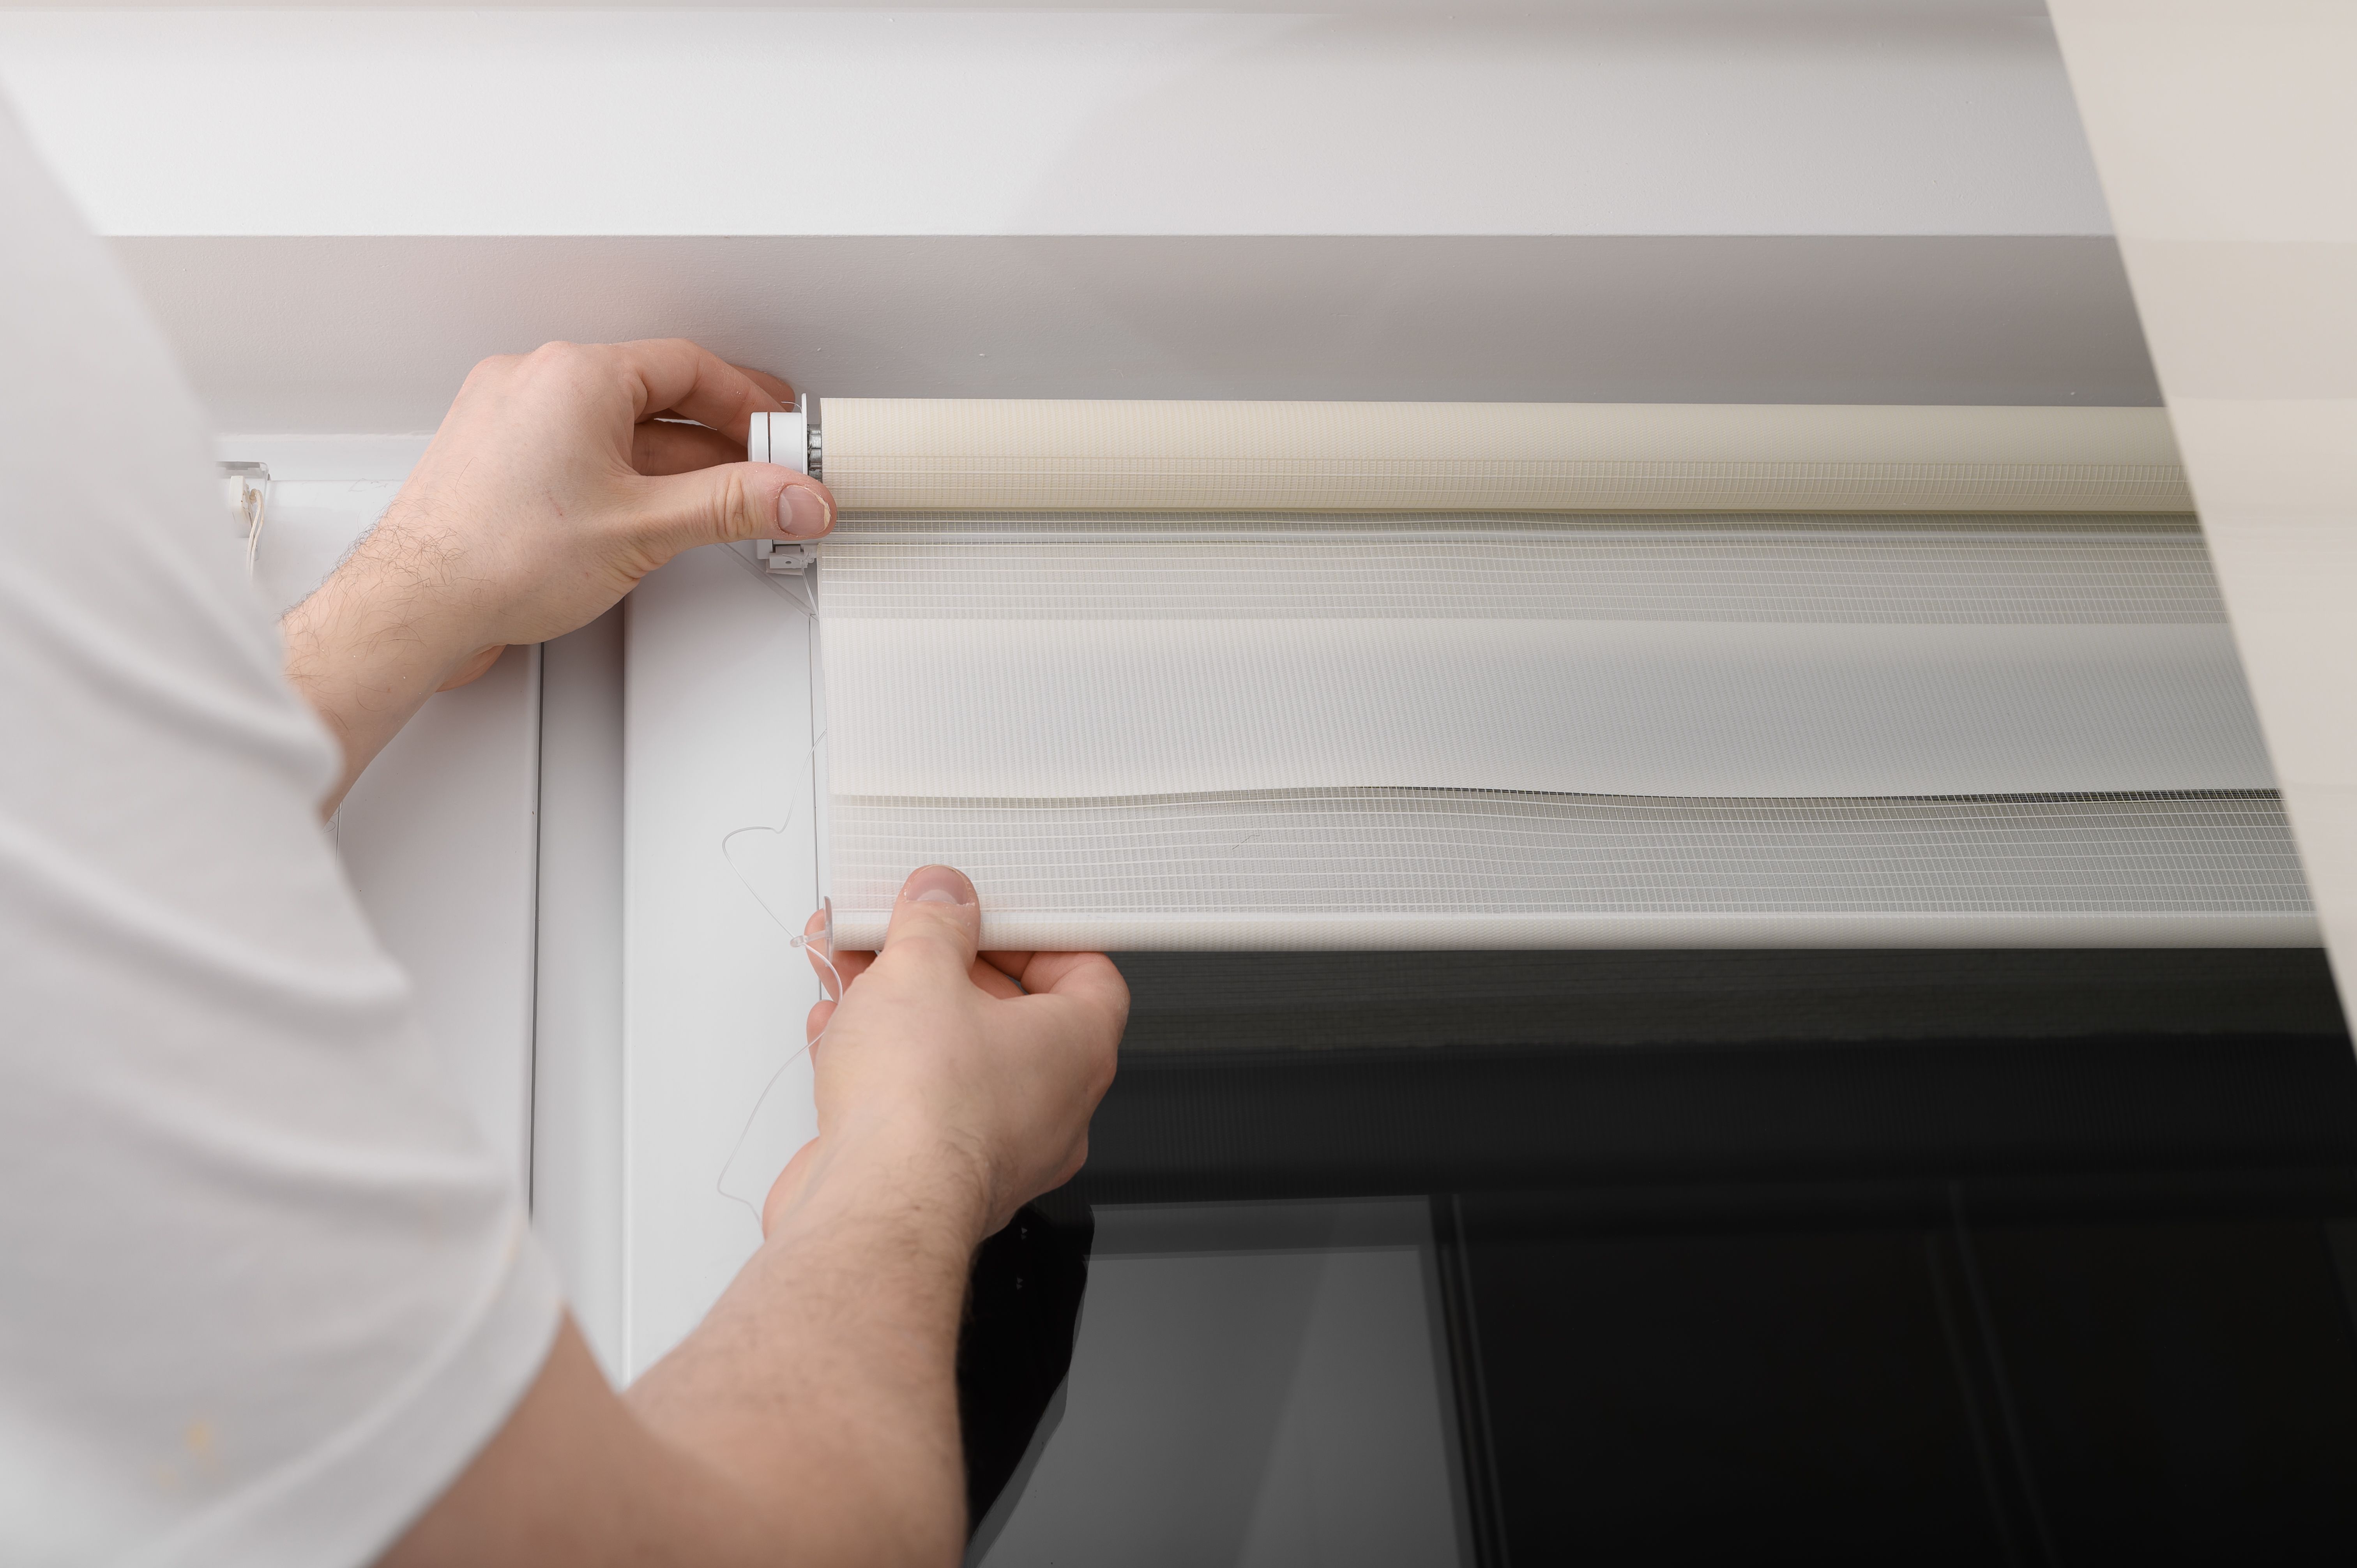
Once your measurements are complete, it's time to install the blinds. Start by marking the bracket locations with a pencil. Use a level to ensure the brackets are aligned properly. Drill pilot holes for the brackets, then secure them with screws.
Attach the headrail of the blinds to the brackets. This step may vary slightly depending on the type of blinds you have, so refer to the manufacturer's instructions for specific guidance. Ensure the blinds are securely fastened and operate smoothly.
Final Adjustments and Safety Tips
After installation, make any necessary adjustments to ensure the blinds hang evenly. Test the blinds by raising and lowering them several times to confirm they function correctly. If you encounter any issues, review the installation steps and make adjustments as needed.
Remember to follow safety precautions, especially if you have young children or pets. Ensure cords are kept out of reach by using cord cleats or opting for cordless blinds for added safety.
By following these steps, you can successfully measure and install custom blinds, adding both style and function to your living space. With a little effort and attention to detail, your DIY project will be a success.